How-to · 5 min
Set up your spots
Save your hunting locations, confirm the state so your bag-limit warnings are accurate, and see what each spot is actually telling you.
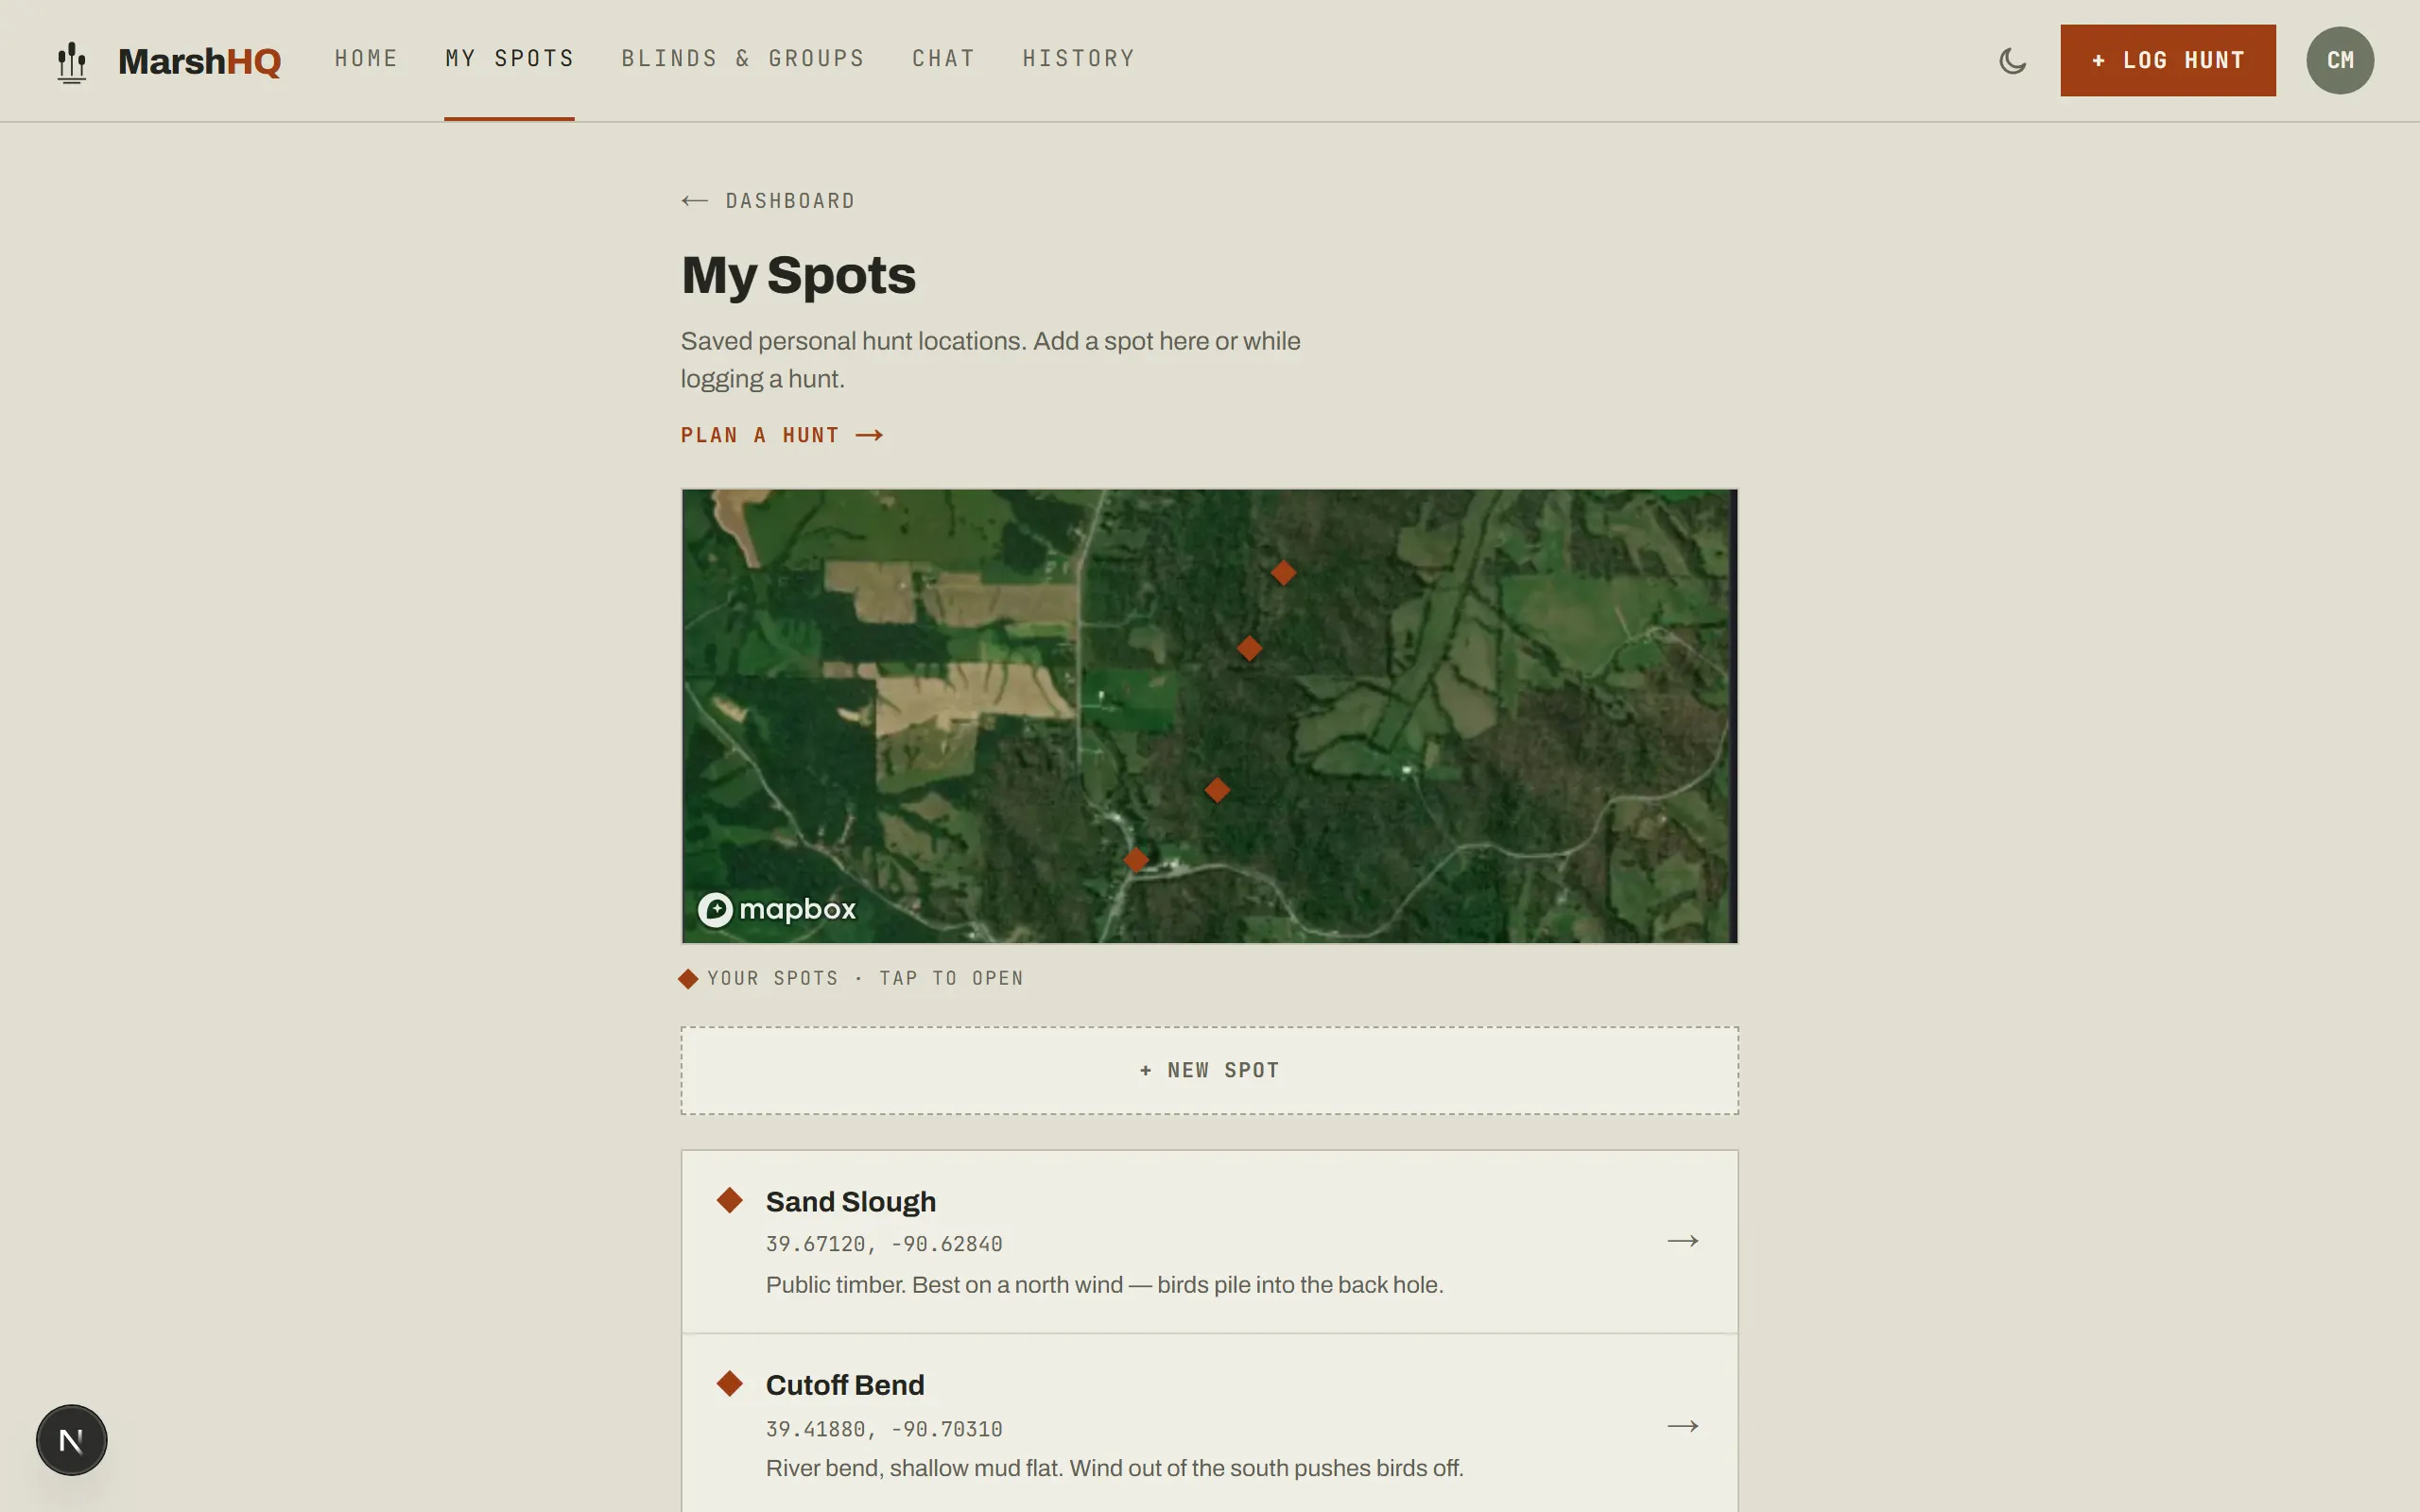
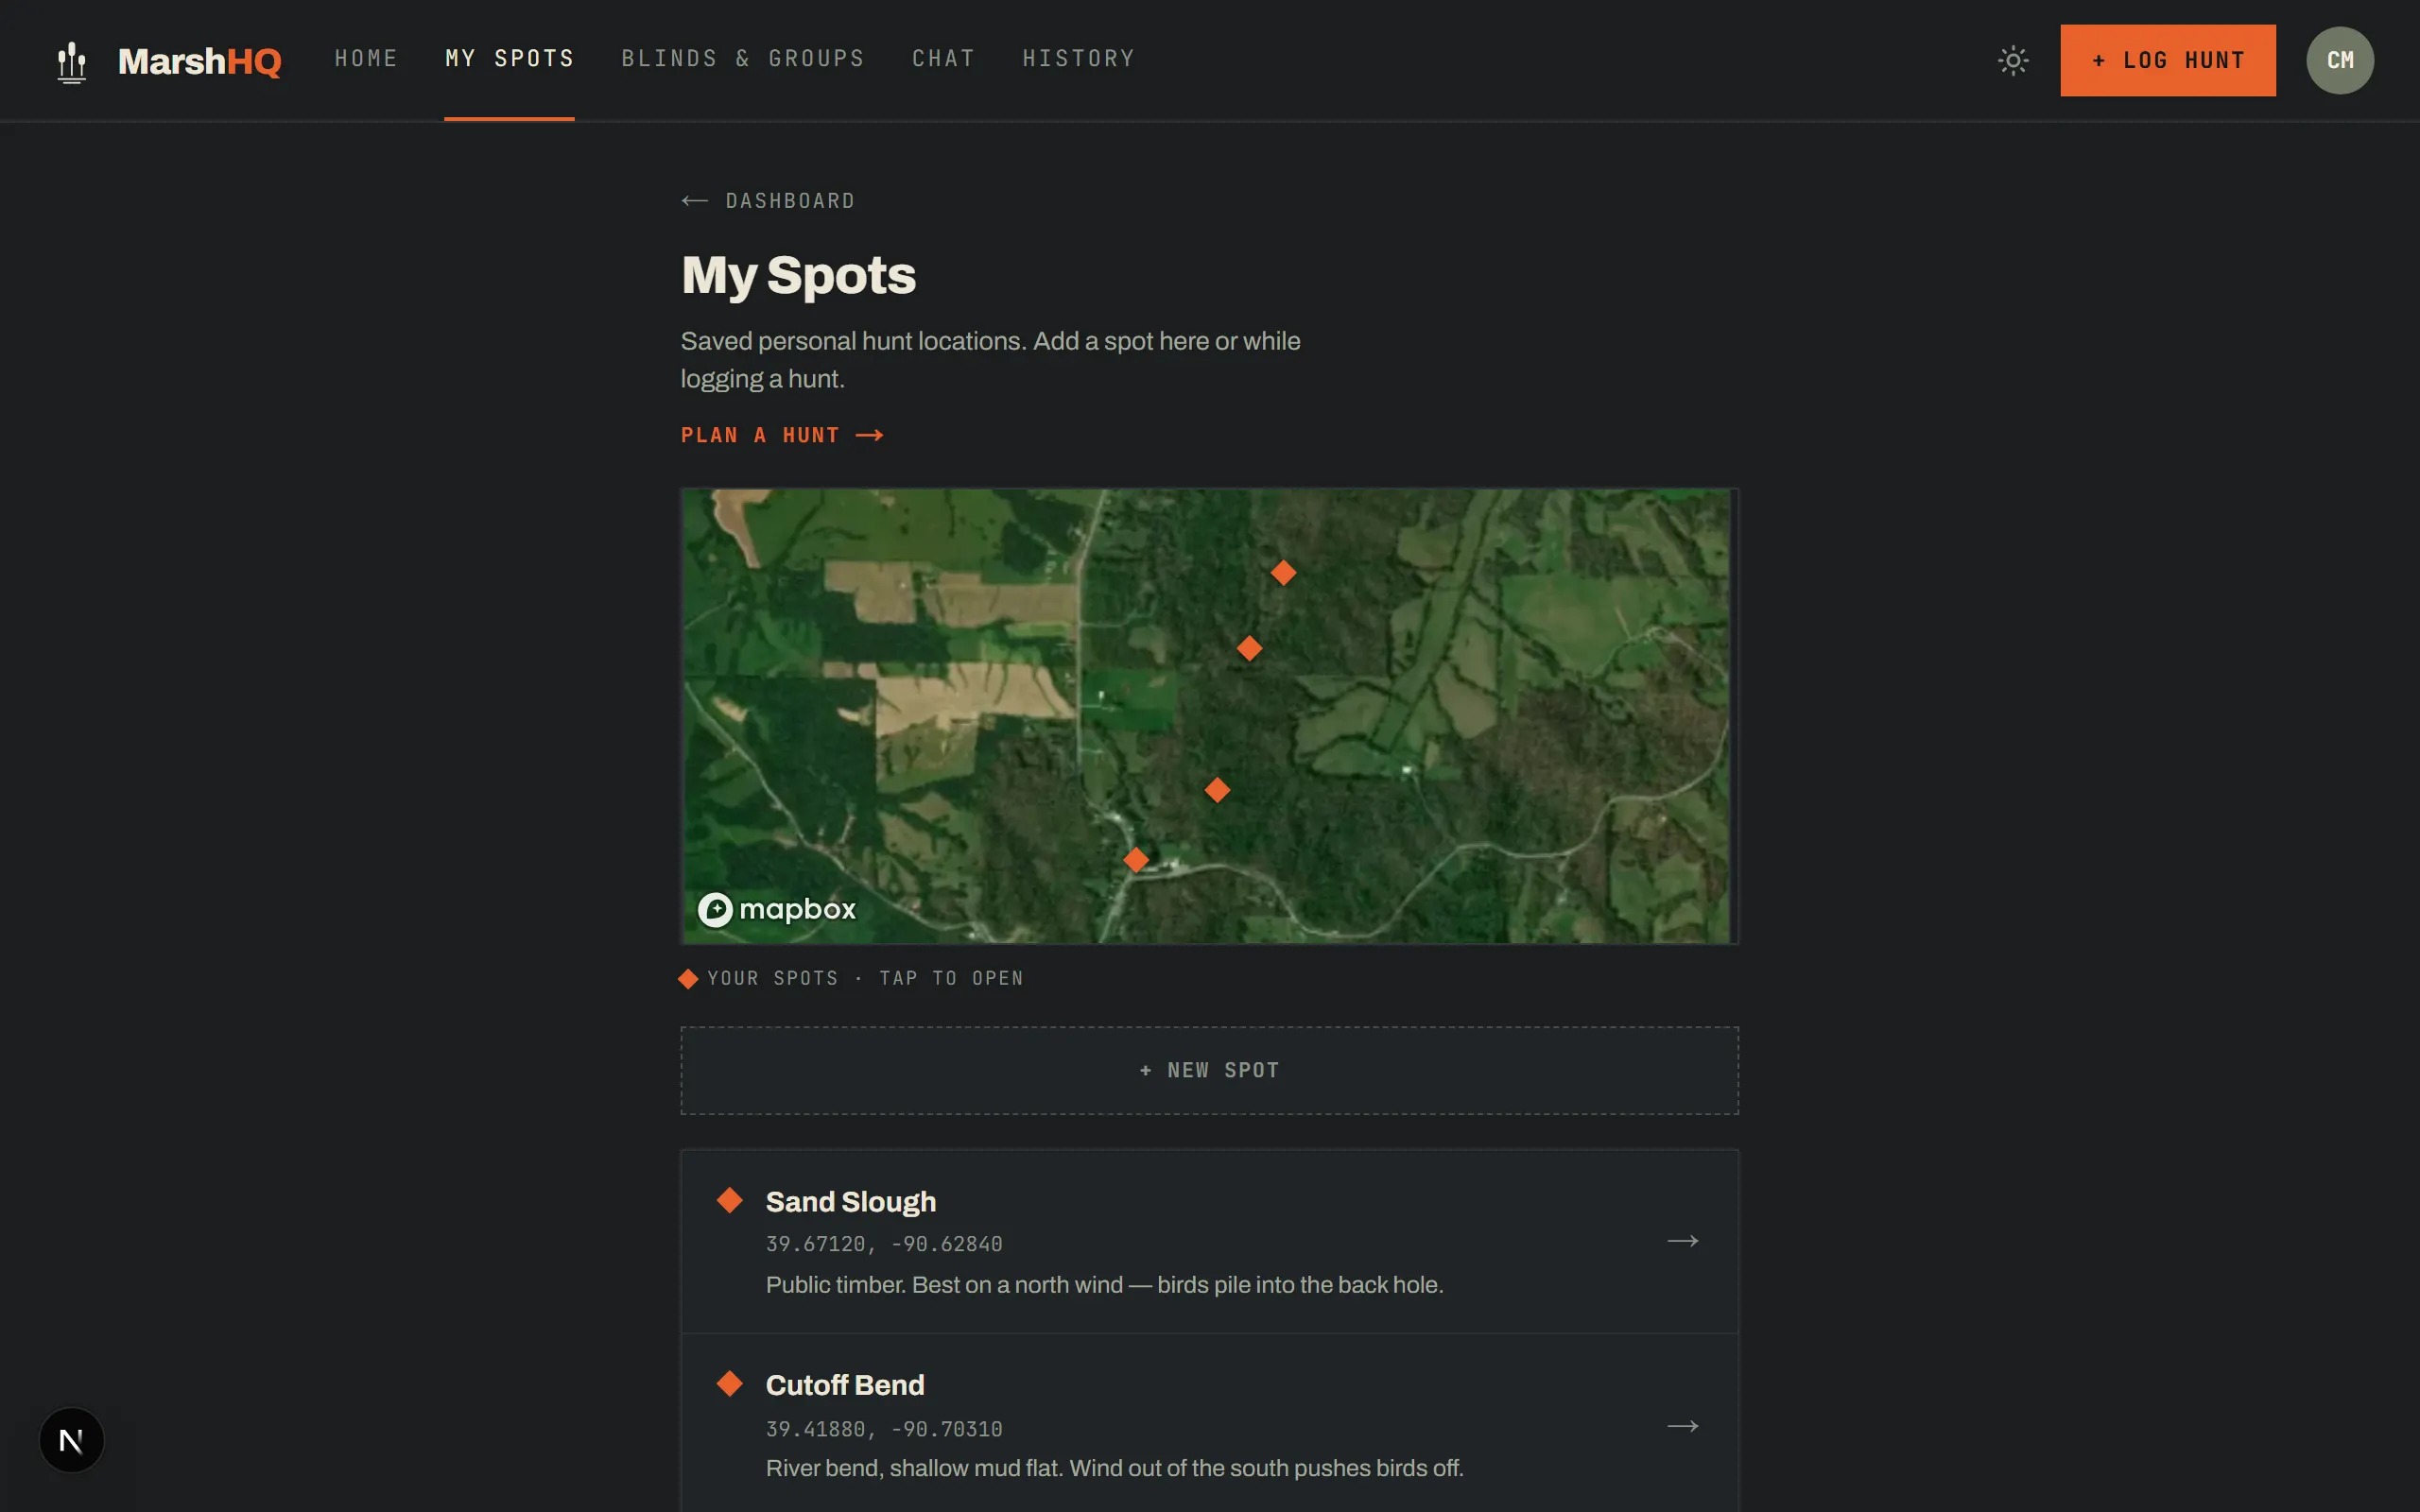
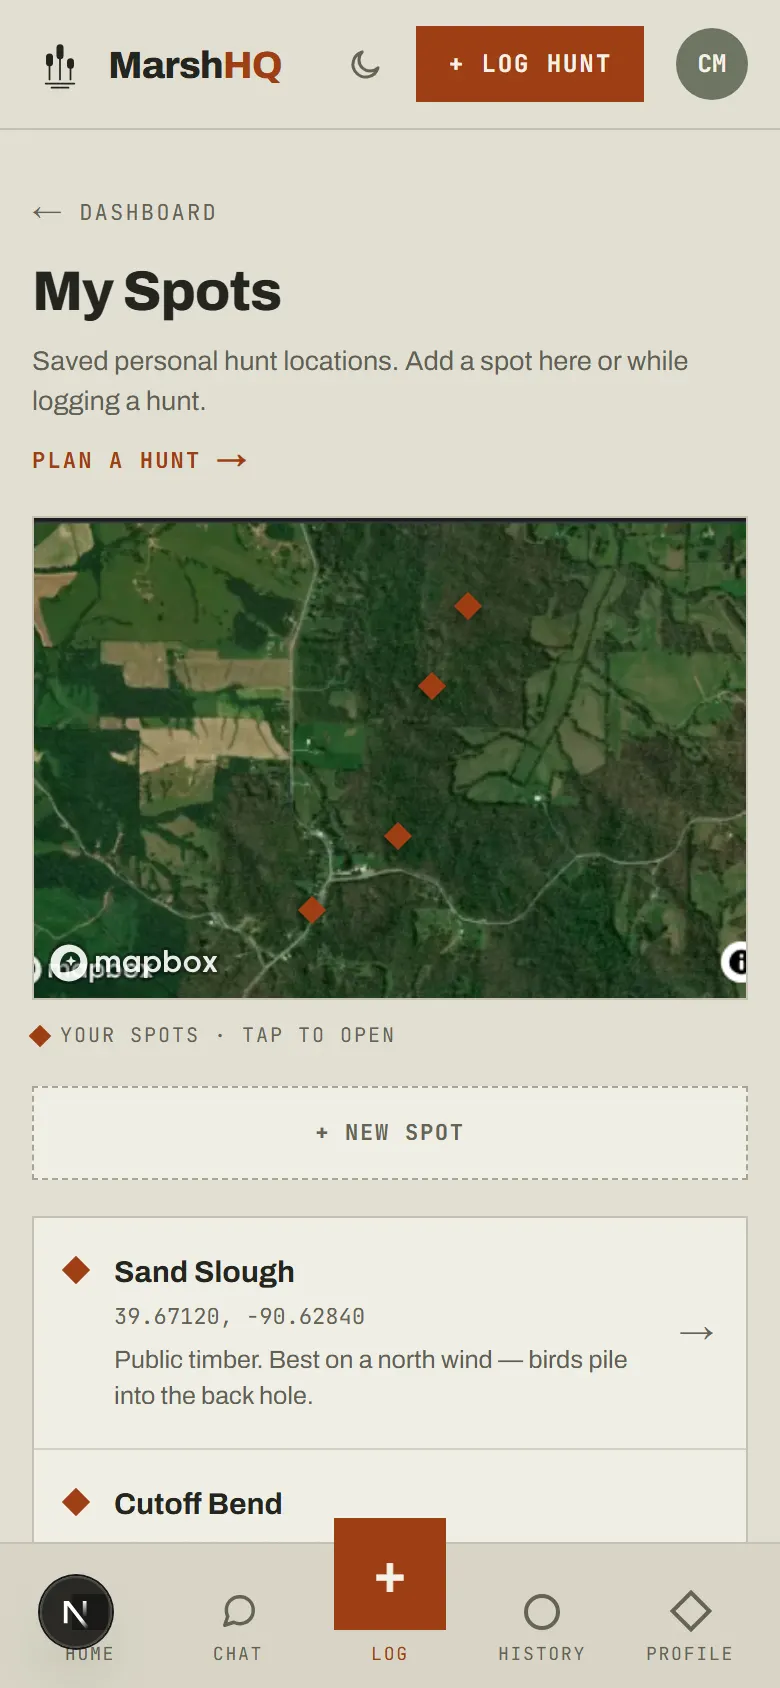
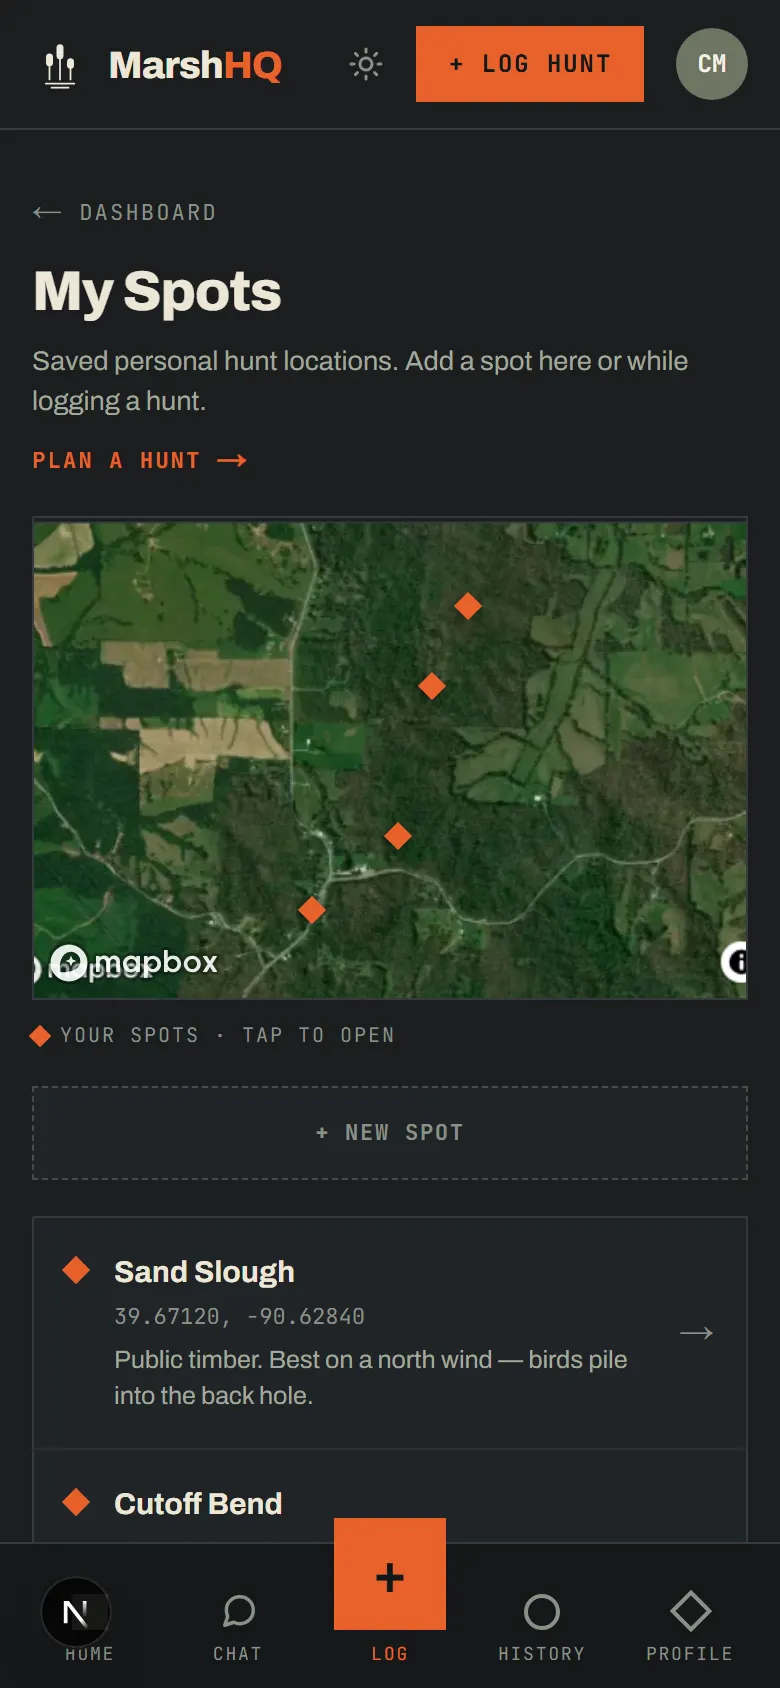
Add a spot
From My Spots, drop a GPS pin or place one manually on the map, then name it. If it’s a verified public hunting area already in MarshHQ’s catalog, you can search and link that instead — same result, and it’s exempt from the free-tier spot limit below.
Confirm the state
Open a spot and set which state its bag limits fall under. Where MarshHQ has signed-off regulation data for that state, you’ll see the actual published limits before you attest to them — until you do, warnings on hunts logged there fall back to general Mississippi Flyway limits instead of your state’s.
Important
Bag limits and season dates are for reference only and may not reflect the most current regulations. Always verify with USFWS and your state wildlife agency before hunting.
See what a spot is telling you
Every spot page rolls up your own hunts there — hunts, birds, your best days, and a "What Works Here" breakdown by wind, temperature, pressure trend, and time of day. Each condition group only appears once you have at least 3 hunts behind it, and a comparison needs at least 2 qualifying groups — a single bar alone would compare nothing. Keep logging and the picture fills in.
Know the free-tier limit
Free accounts can keep 3 saved spots — public hunting areas don’t count toward that. Hunter Pro removes the cap and adds a cross-spot ranking on the My Spots page, so you can see which of your spots is actually producing.